After I completed the character model I have Uv mapped to export it in substance painter to texture it.
For the Uv mapping I have created first a planar map and cut the uv shell to then unwrap it so that the surface would be spreader out evenly. I have repeated the process for each part of the character body.
Once I had uv mapped the character I have smoothed it in maya and exported the mesh as a fax file: I have smoothed it so that in substance painter it would appear not in preview mode and the texture files would not be stretched afterwards.
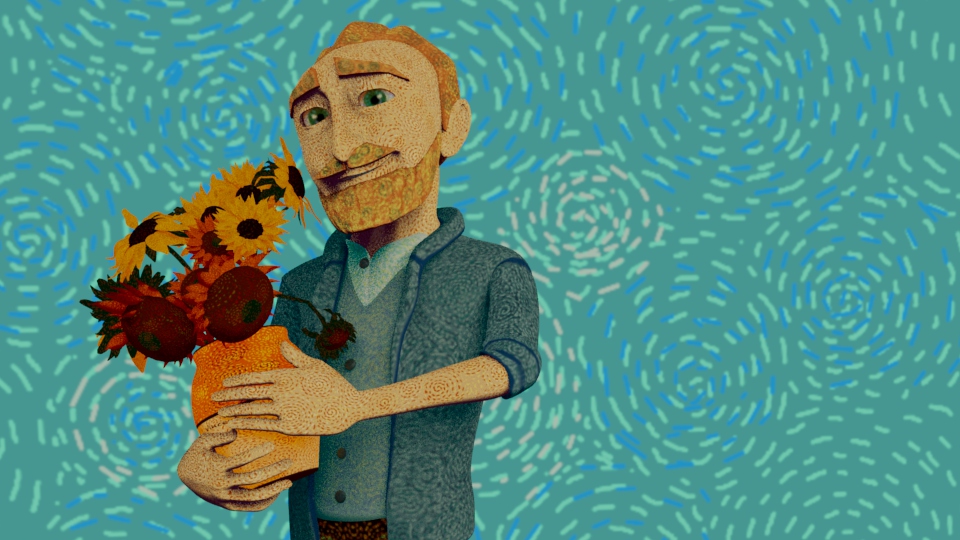
I have started from the face texture and since that the design of the character is inspired from one of his self-portraits I have tried to pick the colour palette from that artwork and try to translate the painting style into substance. I have experimented with different brushes in substance that had different textures in order to replicate van gogh’s art style.
I have also added several stains of bright colour to the skin to add more vibrancy and also since van gogh in his paintings usually adds green and blue to the skin palette. I have also added some red to the fingers and to the cheek.
this is how the model looks so far: I had only textured the skin and added a fill colour to the other parts following to my concepts.
