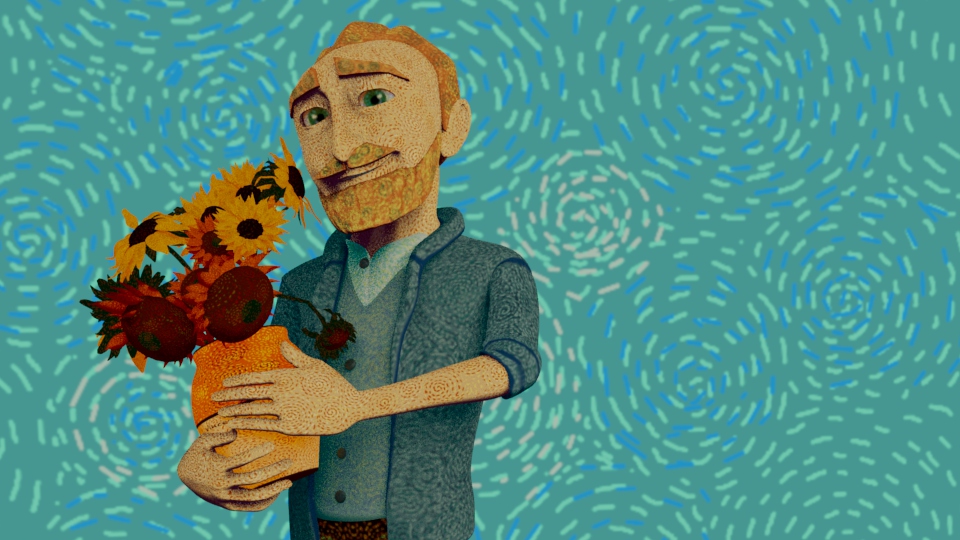
Unfortunately this week when I was trying to open back again the texture file substance painter would not let me because the file data was to recent for that software version of the program: I am working using the remote access to the lab at university and unfortunately they are updating the system during this period so that might be the cause.
So I had to start again, but it was not an issue since that I felt that I did not get to the point where I was happy with the texture I had previously created. This time I also tried to add some height information to the brush strokes to see how it would appear on the model trying to emulate the painted impasto technique. Although, I was not happy with it and the overall look appeared to be too chaotic and the colours would not blend together well. Also, when adding several brush strokes with that thickness to the same area they would come together as one by brush stroke and part of the thickness would appear flat overall.
Thinking of the starry night especially the sky I came up with a style that I could use to texture not only the character but the environments too: in that painting appeared to be consecutive brush strokes that form spiral shapes. This style other that creating movement in the texture can be a nice translation to van gogh painting technique which would let me use different colours applied not evenly but with different values and forms that would blend and work together well.
to speed up the process I have used the mirroring tool:
When I fist applied the textures to the model they were extremely dark so I have tried to have a look at the lighting settings in maya and I opted fro flat lighting which is the effect I wanted to achieve after all.
effect with flat lighting:
once the textures were applied I have used advanced skeleton to create the rig for the character.
After I started modelling the bedroom asset using the character model as a reference for the dimension: The bed model was already done since it was part of the premise project I did last term.
for some cloth or even the jackets present in the painting I have used a cloth simulation to give them a more natural look.
After I have applied the cloth simulation I have modified them with the lattice tool in maya
