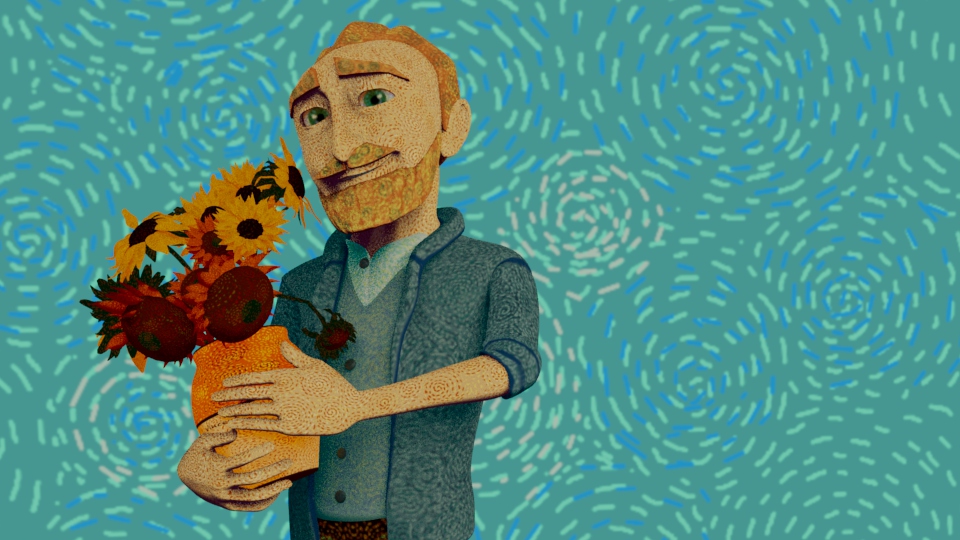
photoshop + illustrator
During the second experimentation I carried for the painting style for the background I thought I could import the keyframes into Illustrator after I had painted them an apply an image trace effect to them: the Image Trace feature in Adobe Illustrator is a quick way to convert your image to vector format for high quality printing at any size.
keyframe with the image trace effect applied to it.
This week I also rendered more keyframes to make the video longer (72 frames)
I painted the first key and every ten keyframe from there so that the transition would be smooth for the final output.
Ebsynth processes the input keyframes translating ten frame before and after those provided: this time I have placed the sequences according to the keyframes order in after effect setting an opacity to them so that the frame transition would look smoother.
render grey model, wireframe and final render
For the project submission thought that other than the ebsyth video I could render a wireframe of the model and the scene as well as the beauty and the paint effect to showcase the process behind the final result.
I have found this video to create the wireframe surface
I first applied a standard surface to it and created an aiwirame node in maya that I later linked to the standard surface base colour. I also changed the fill colour and the line colour to make them purple.
For editing I have used after effects and on each master layer I have applied some effects on the beauty layer such as the exposure and hue and saturation. I also overlaid the ao layer on top to give some depth and definition to the shadow as well. to the ao layer I then applied a gamma effect to edit the rgb channel.
ebsynth resolution pictures
In order for ebsynth to render the video the picture should not be in an exr format which I firstly exported the picture to. So after I rendered them as jpg the painted keys and the keys from the render would no longer match in resolution and ebsynth was not able to process them and kept giving me a “resolution error”. So I tried to manually make the resolution of the painted keys to match those of the footage in illustrator. Once I did that the program was working again.
submission and showreel
the initial version of the showreel had some presentation errors: the font I had used was too big and wrong, some of the bed renders appeared a bit too overwhelming since I had animated not only the camera but the model itself; moreover the resolution of the footage was not tv safe. So I have created a second version of the showreel applying these corrections.
I also used a different wireframe process since the other one was not correct as it appeared way too dense in the blanket and pillows areas.
I have applied a black surface and put the bed into a new layer changing the colour to white I also set the shader to wire frame.
this is a frame of the final wireframe shader I have used.
