Miro Board Link:
https://miro.com/app/board/uXjVOKHnfj0=/?share_link_id=371325218573
Physical sky and shadows
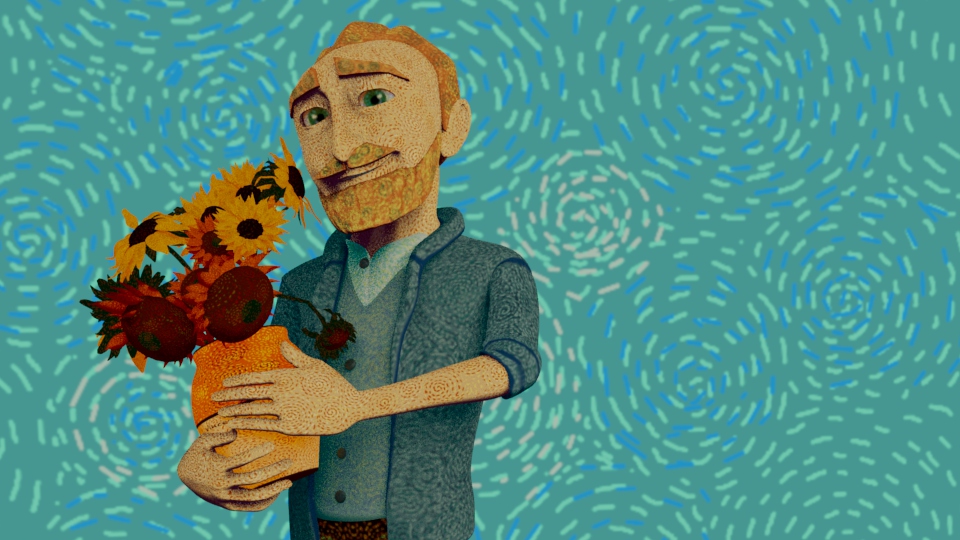
The problem I used to have about light and and the physical sky in Maya was because I did not add any rim light attributes to the aiToon shaders. A rim light is placed behind a subject that exposes the outline or rim of the subject with light. This lighting highlights the contours of a subject and creates a dramatic and mysterious effect.
From the picture above you can see that there are to lights to the texture itself since the physical sky light itself it is already not high in exposure (as it is during early morning).
Although if adjusting the rim lighting options for each aiToon shader I have created the lighter colours appeared. Moreover by adding to the contour lines of the shader an ambient occlusion mask the lines appeared more defined. I have realised this when I was adding the AOV’s to the scene. In the list there is one called “rim lighting (aiToon)”, so I researched into it and found the following video which I followed and solved the lighting problem that I had with the character:
Edit the playblast video before the rendering
This week I have completed the animations for each shot that I had initially set in the shot list. I thought I could edit all the different playblast videos together to have a rough idea for the whole animation and to see if I should change or add something before the rendering.
Rendering issues
The first problem I have encountered during the render process was the directory of the render layers and passes which was not accurate at first so it would stop maya from render.
Render path I have used to save the different render layers and paths.
<Scene>\<RenderLayer>\<RenderPass>\<RenderPass>_<Scene>
Missing render passes
I have also realised that I had to add the AO (ambient occlusion)- a shading and rendering technique used to calculate how exposed each point in a scene is to ambient lighting- and alpha render path- A mask channel (or alpha channel) defines where an image is opaque or transparent-.which at first I could not find in the list of AOV’s since they are custom passes and I had to manually input them
In order to make the AO pass work I have added the ambient occlusion shader and set gaussian as filter in the render settings
For the alpha channel I had to add an aiUsercolordata shader in the attribute editor and set the camera and transmission of the physical sky to 0 in order for it to work.
I have used these following videos as a reference for the process:
Since I had set the Physical sky camera and transmission to 0, I had to create a separate layer for the background rendering to trigger the Physical sky visibility: I have created an override for visible layers transmission and camera set to 1 because for ao and alpha they were set to 0 in orther to work.
I also included a Shadow matte layer for the boat and character. The shadow_matte is a specific shader, used typically on floor planes to ‘catch’ shadows from lighting within the scene. It is useful for integrating a rendered object onto a photographic background.
I followed this video to create it. I have created different collections within the render layer: one for the boat the character and the fisherman with the primary visibility turned off (the primary visibility attribute in the Render Stats allows an object to reflect and refract, but the object itself does not render); the second collection would be the one with the water where the shadows are cast I would also create a shader override with the aishadowmatte attached to it; the third and last collection would contain the light and the camera.
