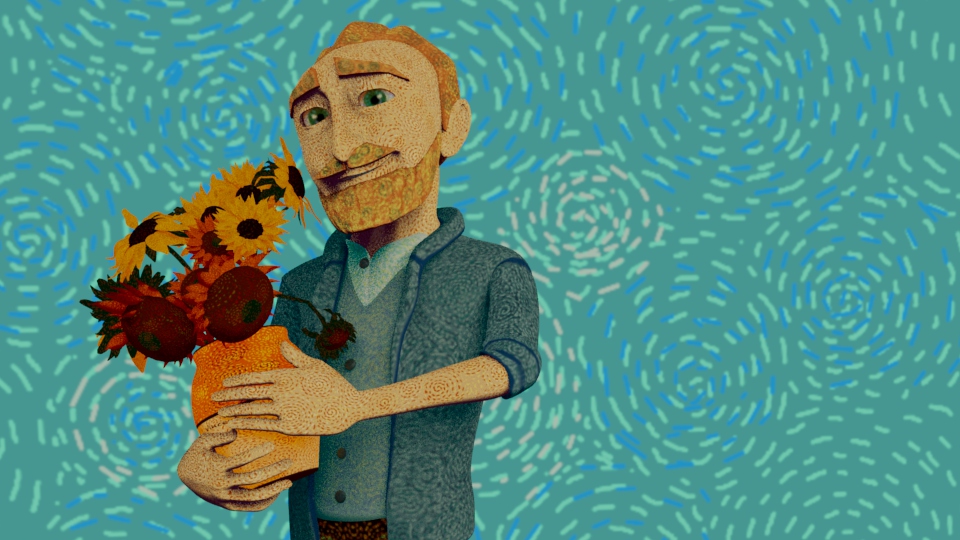
Render layers guidelines
Split the geometry in the scene: Background, Mid-ground, Foreground and lights and created a camera as well.
Edit the Render Settings: in the file
Arbitrary output variables (AOVs) allow data from a shader or renderer to be output during render calculations to provide additional options during compositing.
Render layers: create collections (different folders within the layers);
The primary visibility attribute in the Render Stats allows an object to reflect and refract, but the object itself does not render. To do so, both the visible objects and the hidden objects (the objects for which you wish to show reflection and refraction) must belong to the same layer.
Background layer with alpha channel on and off (showing what is going to render in white)
Mid-ground layer with alpha channel on and off (showing what is going to render in white)
Foreground layer with alpha channel on and off (showing what is going to render in white)
Master layer which is going to be seen but not rendered
Uv Tips and Tricks
With a character: split the geometry of the model in parts( head, arm, leg, torso) to simplify the UV mapping.
In the UV editor select one part and do an automatic UV map it will come with white lines and will need to be sew together to create two main parts.
After select, unfold and optimise and arrange the layout.
